A Three-Photo Travel Journal: Place, Altitude and One Small Detail
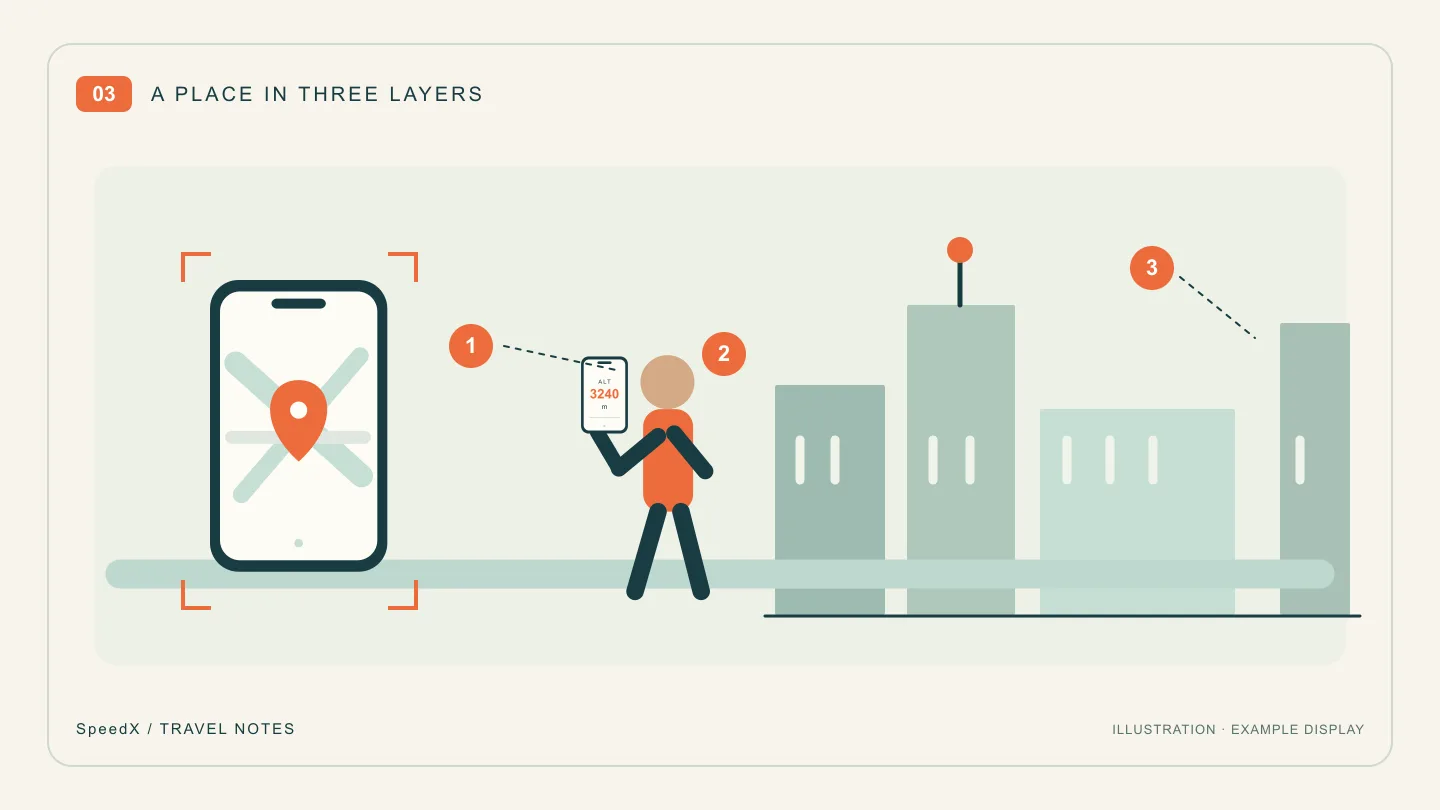
A travel photo journal becomes easier to read when each image has a different job. Instead of keeping three almost identical portraits, choose a view that establishes the place, a picture that puts you there and a detail that explains why you remember it.
For a day that takes you from a lakeside stop to a mountain viewpoint, an altitude display can connect the photographs. The itinerary below is a writing example, not an account of a trip we took or a recommended route.
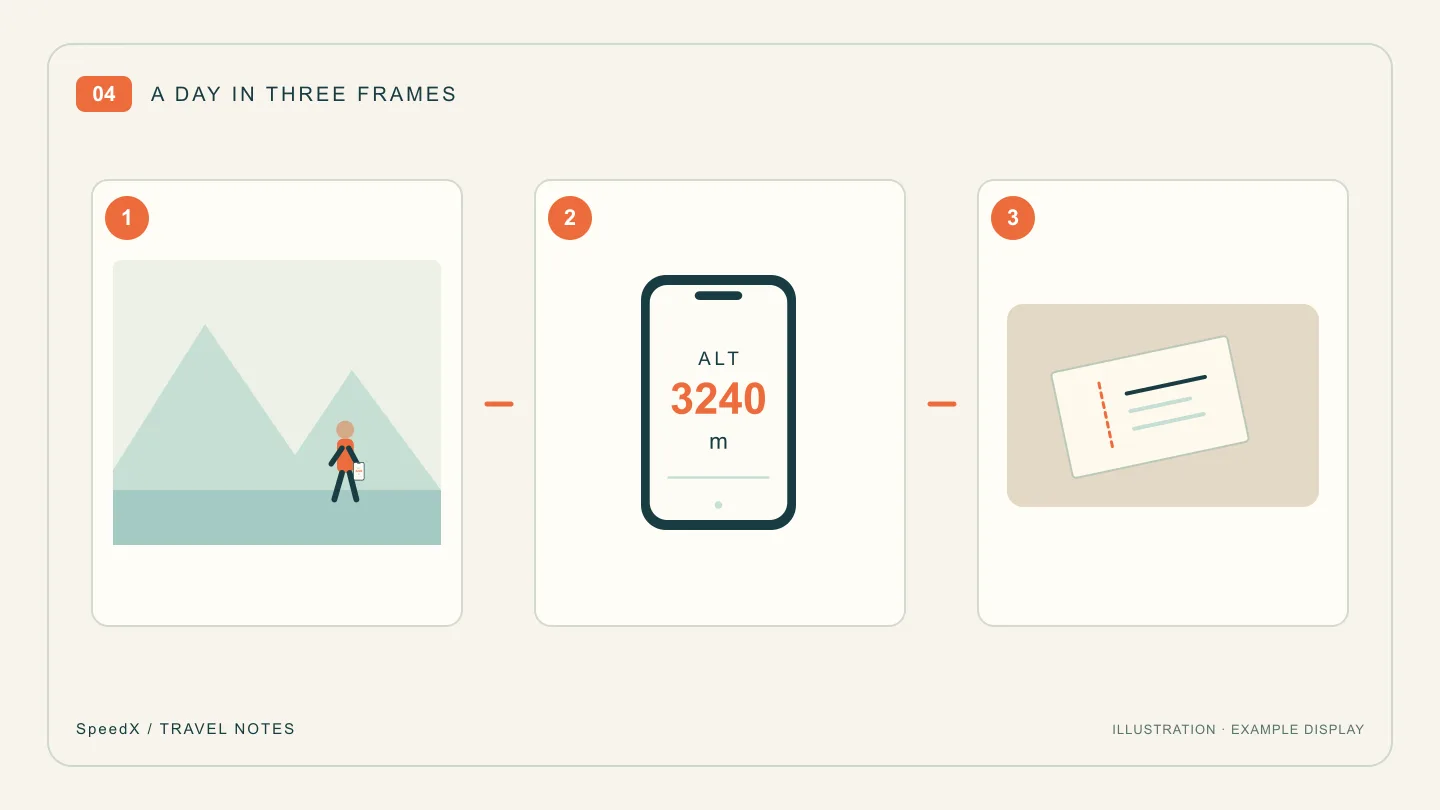
Photograph one: give the day a setting
At your first stop, make a wide photograph of the shoreline, street or view that caught your attention. Include something that distinguishes the place: a public sign, the shape of the shore or a recognizable building. A person can be small in this frame.
Write down the actual place name and a rough time. Also note one observation that the picture cannot fully convey: the sound of the water, the pause for a snack or why you chose to stop. Specific notes will be more useful later than trying to make the first caption sound polished.
Photograph two: make your presence visible
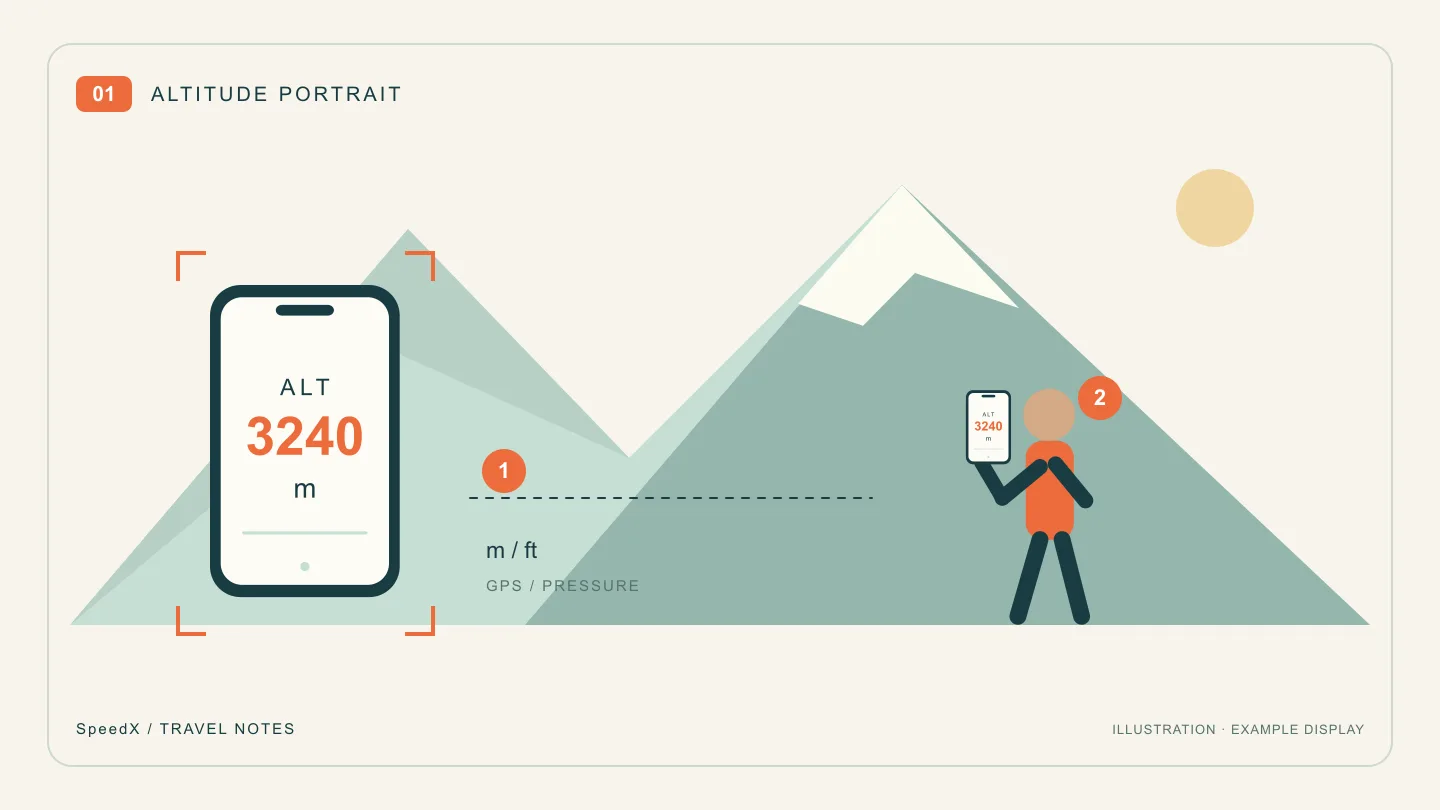
At the next stop, take a closer portrait with your phone showing the current altitude in SpeedX. Ask a companion to use another phone or camera. Hold the display near your torso, leave your face clear and retain a strip of the landscape beside you.
The altitude gives this photograph a different purpose from the opening view. Record what the phone showed, with its unit and whether you used GPS or pressure altitude. The altitude portrait ideas help with positioning; if you would rather show a map, use the same idea with your current location.
Do not turn two displayed heights into a claim about total climbing. Your route may have gone up and down between stops, and measurements can vary. A diary only needs enough information to describe the moment honestly.
Photograph three: end on something small
Before leaving, photograph a detail that belongs to your day: a ticket, a public trail sign, your backpack beside a bench or the texture of a café table. Choose something that recalls a particular moment, rather than an interchangeable decorative image.
This quieter frame gives the sequence a change of scale. You now have a setting, a person and a memory, rather than a gallery of the same pose.
A short caption template to fill in yourself
In [place], we stopped because [something you noticed]. Later, at [second stop], my phone showed about [reading and unit]. The detail I want to remember is [one small moment].
Replace every bracket with your own notes. This is a writing template, not a quote from a traveler. You can omit the number when it was not reliable; the observation still carries the story.
Use the record as a memory aid
Keep the original photos and notes together in an album. If you also recorded the outing in SpeedX, compare the saved route with your photographs to recall the order of stops. Its current app listing describes trip recording and recorded-point speed and altitude details; that does not mean it automatically matches images or writes a journal.
For a day spent exploring streets, see recording a city walk. For a location-focused picture, try the landmark photo plan. The useful part of the diary is the connection you make between the record and what you actually remember.
Related Articles
2026-10-22
Altitude Photo Ideas: Pose With Your Elevation and the View
Take a mountain travel photo with your current altitude on a phone screen. Plan the pose, frame the view and keep the reading legible with SpeedX.
2026-10-22
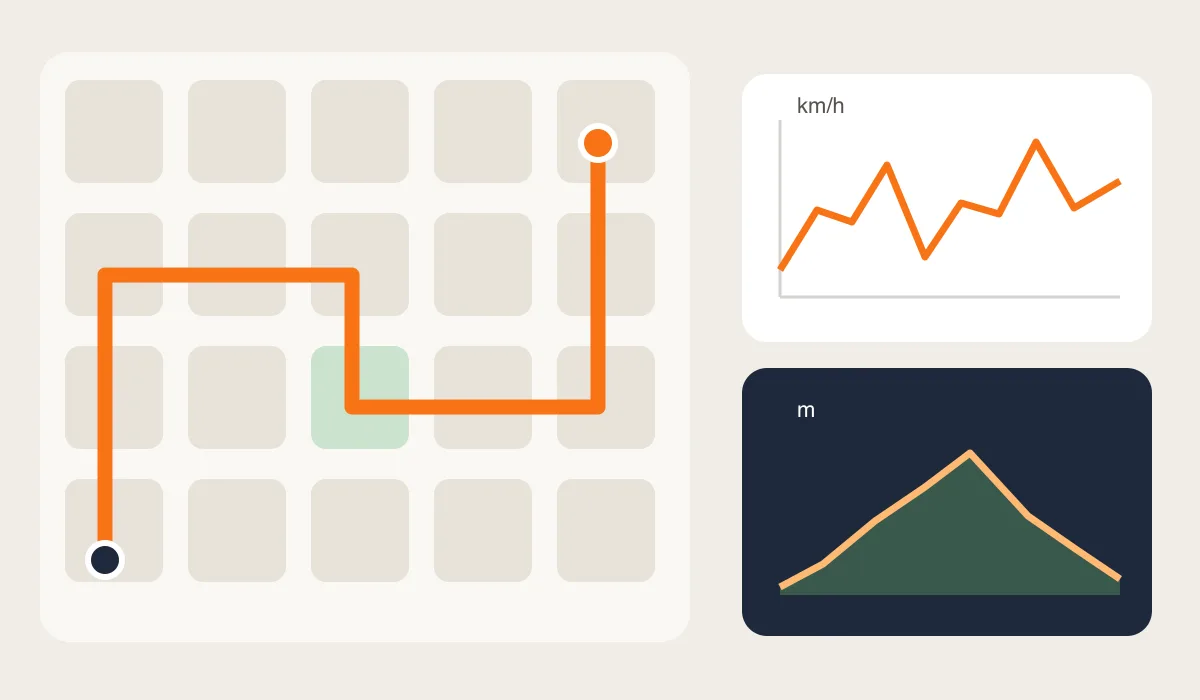
Record a City Walk: Keep Your Route, Walking Speed and Elevation
Turn an unplanned city walk into a useful record. Learn what a route, speed readings and elevation can tell you, and how to review a SpeedX trip afterward.
2026-10-22
Landmark Photo Ideas: Keep Your Location in the Picture
Make a sightseeing check-in photo more personal with a landmark, your current location and a readable phone screen, plus a simple three-shot plan.